Host React App with AWS Amplify and GitHub
Introduction
AWS Amplify consists of a set of tools and services that helps developers to build and deploy web and mobile applications more easily and quickly.
AWS Amplify provides various pre-built tools and services to help developers create applications faster and with less effort.
These tools and services can help with things like authentication, storage, hosting, and notifications so that developers can focus on building their application’s unique features and functions. For this walkthrough, we are gonna focus on integrating Amplify with GitHub.
Amplify’s open-source framework consists of libraries, UI components, and a command line interface (CLI) to build an app backend and integrate it with your iOS, Android, Web, and React Native apps, etc.

Pre-Requisites
React application to GitHub:
Ensure that your React application is pushed to a GitHub repository. You can do this by initializing a new Git repository in your React application directory, committing your changes, and pushing them to GitHub.
AWS Account:
The AWS Free Tier provides customers the ability to explore and try out AWS services free of charge up to specified limits for each service.
Step 1: Navigate to AWS Amplify on AWS Console
Sign in to the AWS Management Console and navigate to the Amplify Console.

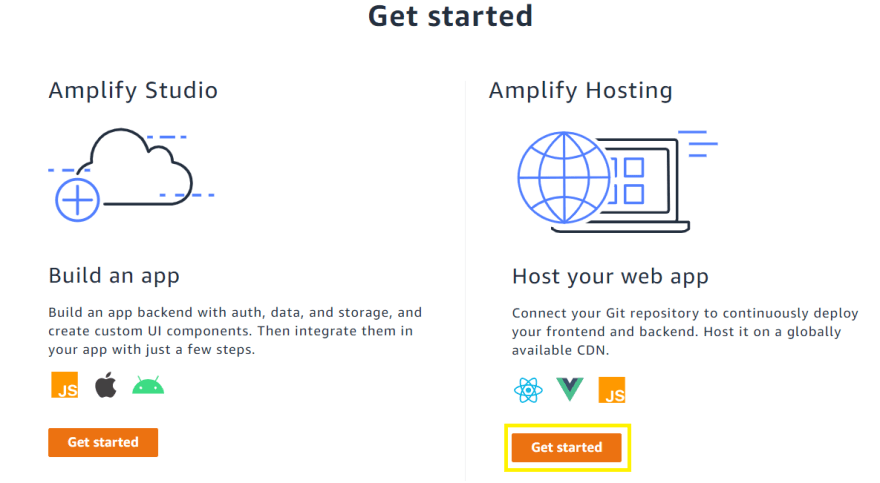
Step 2: Select Amplify Hosting
We have two options. Either use Amplify Studio or go with Amplify Hosting. As we have a React app so we are going to select the “Get Started” button under Amplify Hosting.
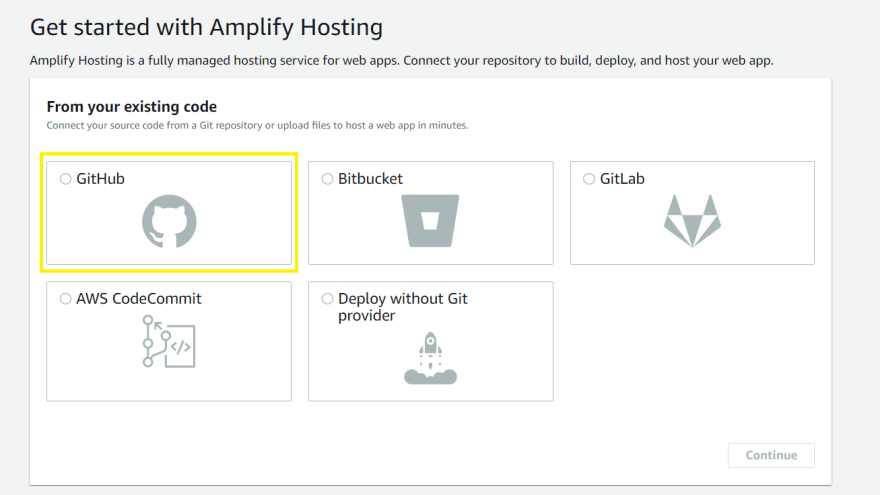
Step 3: Select GitHub as your source provider
We have several options to specify what is our code source. You can connect your source code from a Git repository or upload files to host a web application in minutes. Amplify Hosting allows you to build, deploy, and host your web application easily and efficiently.
You can use GitHub, Bitbucket, GitLab, AWS CodeCommit, or deploy without any git provider.
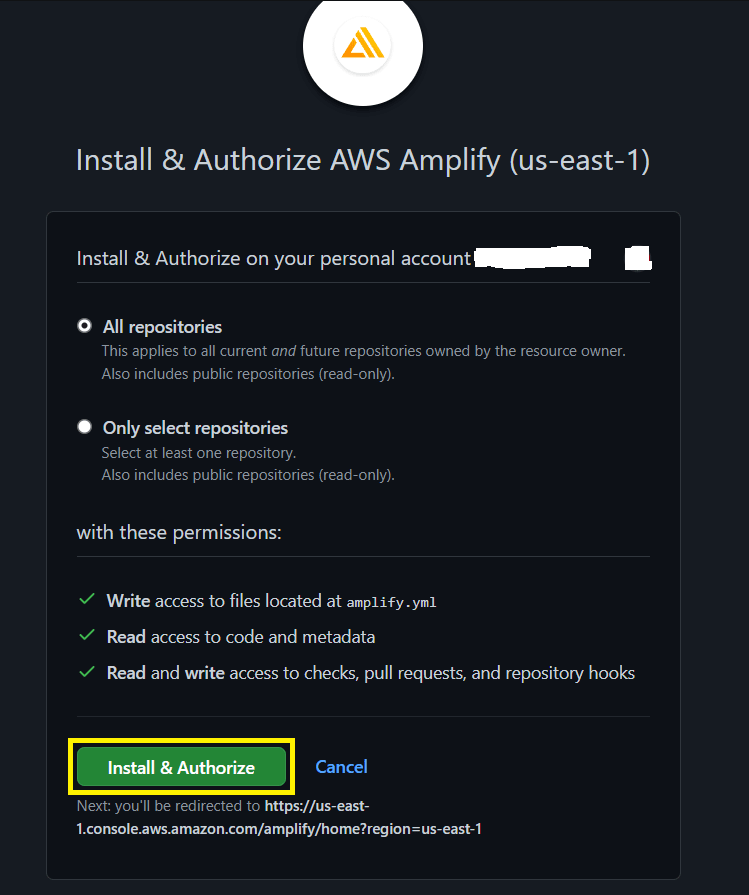
Step 4: Authorize Amplify to Access your GitHub repositories
You need to authorize Amplify to access your GitHub repositories. This allows Amplify to build and deploy your web application directly from your GitHub repository.
Step 5: Add Repository and Branch
Under “Recently updated repositories” you choose the repository that has your updated code. Once selected there will be a list of branches of that repository. Select the branch you want to deploy.

Step 6: Define the Application name in the Build Setting
Once in Build settings, you can specify the application name for AWS Amplify. Usually, Amplify detects default build settings but in case you have different configurations, you can customize it through the edit button.

Once completed review the settings and select deploy to deploy the application finally.

Step 7: Visit the Application Link by AWS Amplify
The process of provisioning, building, and deployment will take a few minutes. Amplify Hosting will automatically handle the deployment process for you. View your deployed application once the deployment is complete, you can view your deployed application by clicking the endpoint link.

Conclusion
In this tutorial, we showed you how to deploy a React application to the AWS Amplify Console using GitHub. With Amplify, you can easily deploy your React applications to the web with just a few clicks. With its simple and intuitive user interface, Amplify takes care of all the heavy lifting, allowing you to focus on developing your application. We hope this tutorial has been helpful, and wish you the best of luck with your application deployment!